Wednesday, November 7, 2018

Investigations into SQ13 , SQ11 , etc. cameras ... review

SQ13 cube camera and DVR 


Disassembly of SQ13  ( teardown )
reverse engineering , 
see the following images ....


SQ13 Audio
Audio recording is not very strong.  The microphone is in what seems to be a disadvantageous location.

SQ13 Battery
It appears to have a protection circuit as part of the battery.  The battery is rated at 3.7V and 300mAh.  Any add-on battery should have the same.


Disassembly of SQ11 ( teardown )
SQ11 images

SQ11 Battery
I saw no markings on the battery.  It is probably a 3.7 volt lithium. It appears to have a protection circuit as part of the battery.  Any add-on battery should have the same.


tags:     777SQ13   777cubeCamera   777camera   777review  777SQ11    777DVR

Saturday, May 27, 2017

Restoring an SLA battery one experiment

Around 2017m05d22 I pulled a 12V  SLA battery from a trailer.  The SLA was being used to power the emergency braking system for the trailer.  I did not know how old the battery was or when it was last charged.  Here is a photo of the battery.


My DMM  measured 6.3V across the SLA.  My experience says this means the battery is near death and cannot be restored.  I chose to mess with it anyway.  I put the battery on a 14.3V / 2A charger and measured a voltage of 13.9V.  This usually means the battery is not accepting charge and is presenting a high impedance to the charger.  I left the charger connected overnite.  The next day the voltage was still 13.9V.   I disconnected the charger and the voltage was 12.2V ...... this was a surprise.  I do not yet have an explanation for it.

I shorted the SLA with a spoon for 2 seconds and got a big spark and some glowing metal.  Afterward the voltage was still 12.2V.   With the charger connected the voltage was now 13V.

I will continue to monitor this battery.

Gus in Denver


tags:   99guspuppet  777SLA  777restoreSLA

Friday, March 10, 2017

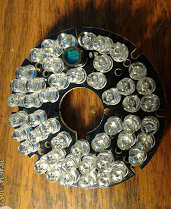
48 LED Infrared Spotlight Schematic ... bought on eBay

This is the schematic for a spotlight available on eBay as of 2017m03d01 ....


Purchased qty 4 from eBay      ~ $3 each    with CdS photocell  12VDC


When dark , spotlight should turn on.  When dark , CdS in series with 345K resistor causes voltage to base of Q2 ( PNP ) to drop below voltage at emitter which is approximately 6v  ( using forward drop of IR LEDs as voltage reference )   ...Q2 turns on current flows into the base of Q3 ( NPN ) through a 1K resistor.     The emitter is tied to ground.  Q3 turns on and
Q1 is a power transistor that connects to 8 Strings of LEDs with a 27 ohm resistor in series in each string.  Q1 has a 2.2 ohm resistor between it’s ?? and ground.  This is used for current sensing.  


There are 11 resistors, 3 transistors , no capacitors , no inductors.  IRC can turn Spotlight on and off.

The coating on this PCB is very dark and hard to scratch ... so following the traces was difficult.

The 27 ohm resistors typically have 1V across them when the spotlight is on. This means 36 ma is flowing through each string or about 288 ma for 8 strings. the voltage across R3 is about 0.6V which is 272 ma. My DMM is a $5 cheapie .... so these readings are approximate.


I measured one diode chain as 11.66 VDC , 10.22 , 8.75 , 7.30 , 5.86 , 4.43 , R10 , 3.45 , 2.01 


tags:   #48IRLEDSpoghtlight   777IRLEDSpotlight             99guspuppet

Saturday, February 18, 2017

Install HomeGenie on RPi3 2017February Success

This is the install procedure that worked for me .......  2017m02d17
I am using a RaspBerry Pi 3A with the Raspian OS version 8 on it.

I originally tried to use the instructions provided at the HomeGenie website.... no joy  .... I believe there were several typos in the instructions.

I used the terminal app that comes  as part of the Raspbian package.  I typed in the following commands.  Some of these commands take a long time to complete. ( over 10 minutes )


 sudo apt-get update

 sudo apt-get upgrade

 sudo apt-get install mono-runtime

 wget https://github.com/genielabs/HomeGenie/releases/download/v1.1-beta.525/homegenie-beta_1.1.r525_all.deb

sudo apt-get update

sudo apt-get install gdebi-core


sudo gdebi homegenie-beta_1.1.r525_all.deb


I have been using Class 10 SD cards ( both 8GB and 16 GB )


I want to thank the many people that I have gleaned information from off the internet.

99guspuppet

tags: 777homegenie 777homegenieInstall

Insulin Pen deconstruction disassembly How to hack

How to use a pen <== these links are not produced by me
http://www.diabeticlivingonline.com/medication/insulin/how-to-use-insulin-pen
https://www.youtube.com/watch?v=sv3C6Nl1VUc


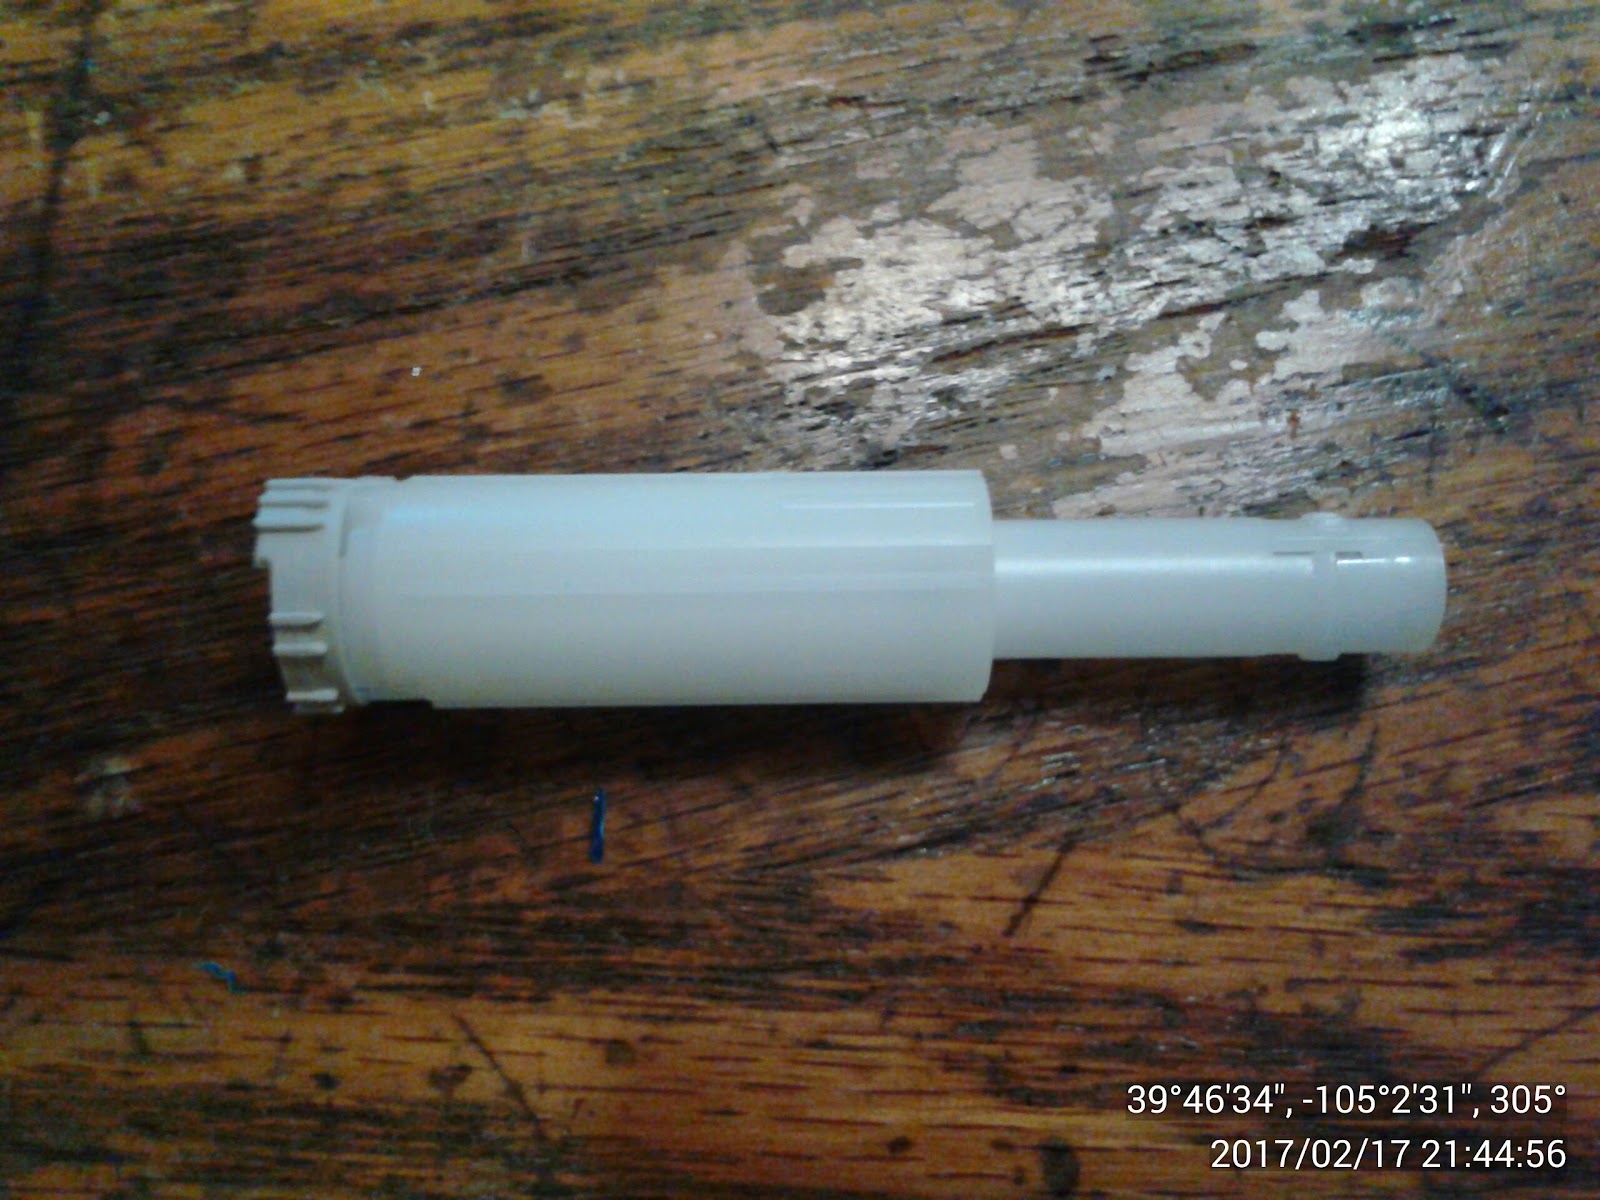
I am fascinated  by these pens and how intricate they are.  They cost ~$70 retail and about $1 when paid for by insurance..... which is surely a scam of some sort.  I wanted to be able to reuse these pens .... reload them with insulin or black widow venom ( that last part is satire ) .

So far I have not had a brilliant idea of how to use these individual parts or how to refill the pen.


plastic melts very easily.  Ask me how I know.  I was using a small grinder.  Then I started using an Xacto blade.


rubber plunger ( orange ) slides in glass tube

blemish

There was a blemish here that I thought might pin some of the parts together , so I filed it.


tags:   777insulinPen    777insulin   777hack   777pen  99guspuppet

Monday, December 26, 2016

Making FTDI devices work with macOS Sierra

I could not get an FTDI FT8U232AM evaluation device to work under Apple macOS Sierra   (  10.12.1 )

The device was listed in the System Report .....
( About This Mac ....  System Report  .....  USB  )


FT8U232AM EVALUATION KIT:

  Product ID: 0x6001
  Vendor ID: 0x0403  (Future Technology Devices International Limited)
  Version: 2.00
  Serial Number: FT9LMWA6
  Speed: Up to 12 Mb/sec
  Manufacturer: FTDI
  Location ID: 0x14100000 / 3
  Current Available (mA): 500
  Current Required (mA): 50
  Extra Operating Current (mA): 0


After Googling various internet sites , and removing some files , I was successful in using the device with the app "Coolterm".

To do so I used the Terminal app and typed
ls -lctr /Library/Extensions/

I found .kext files for Wacom and for FTDI.
I also used the HoudahSpot app to search for files with the .kext extension.

I trashed these three :
 Wacom Tablet.kext ,  FTDIKext.kext , FTDIUSBSerialDriver.kext

I left this file alone:
AppleUSBFTDI.kext


Thanks for ideas from
https://forum.arduino.cc/index.php?topic=427825.0
http://www.ftdichip.com/Support/Documents/InstallGuides.htm


tags:   USB Serial Device   FTDI driver   MacOS Sierra   Apple OS X  
failure  does not work  does not find   777ftdi


by   99guspuppet

Wednesday, August 10, 2016

Adventures with Airdroid

Three Mac installations... two fails.

I installed Airdroid ( AD )  ( 2016m08d08 ) on two Mac laptops and a Mac Mini.  When I invoked AD on two of the Macs the application quit unexpectedly.

When installing on each failure I got a cryptic message indicating that access to Developer tools was required.  This is NOT mentioned in the installation procedure.  I imagine there is something wrong with the downloaded installation package or with my laptops.

I am running Kaspersky Virus scan on my laptops to determine if a virus is the problem.

I installed AD successfully on Samsung Avant Galaxy Android smartphone.  2016m08d08

I installed AD successfully on a WIN10 laptop. ( Leviathan )


I have not found adding devices easy to do.  In over 24 hours I have failed to add even one device.
I am trying the Premium version of AD for one month ( $2 )  ( $38 for two years )  I find Premium very confusing.

Changing accounts is quite a chore.  I installed AD on a Samsung smartphone and it assumed ( for me ) that I would like to use my google account information.  It was wrong.  Now I have wasted much time trying to change my account to one *that I want*.  Uninstalling AD requires a password ( which I do not have ).  This I do not like.

So far I do not like Airdroid.   I hope to learn more likeable things about it in the future.

tags:  777airdroid
99guspuppet